Tri-Fold Brouchers
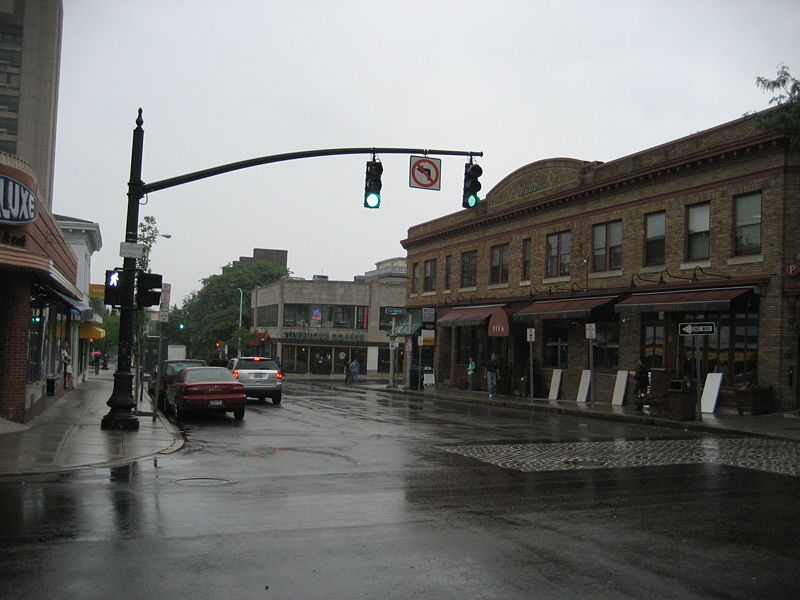
Thayer Street
Photoshopped Images
  |
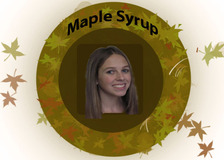
In this image I took a picture off the resturants website. Then I took the cropping tool and I cropped some parts of the image out and shrunk the size of it. Then I rotated it at an angle.
|
 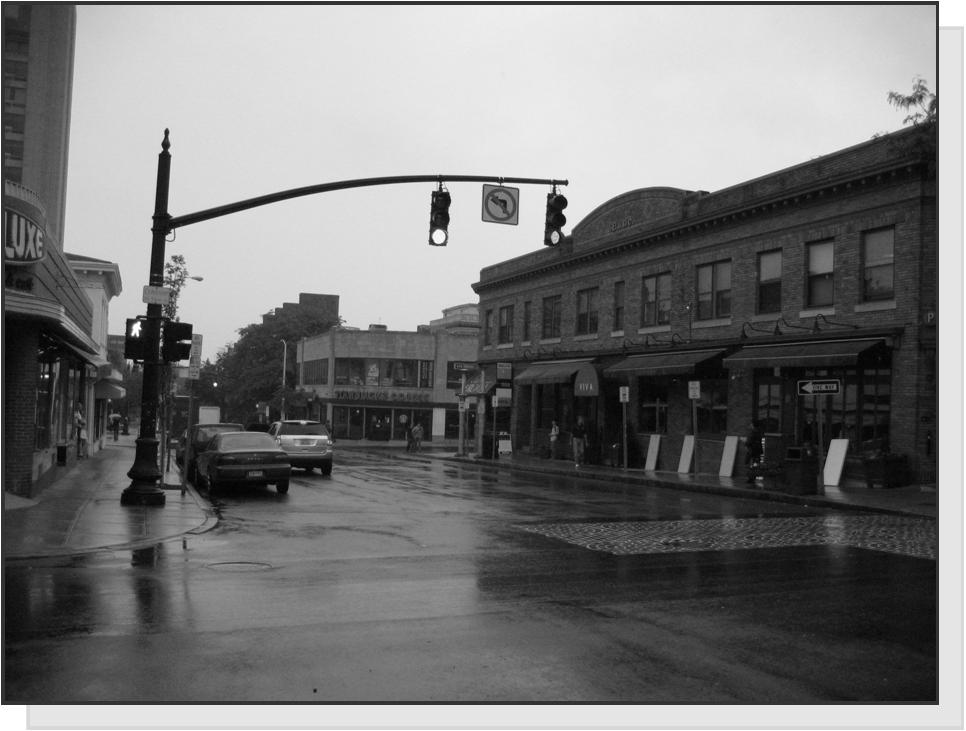 |
In this image I took it off from a website then I changed the color of it to black and white.
|
Photoshop Lessons

Pretend You Were There
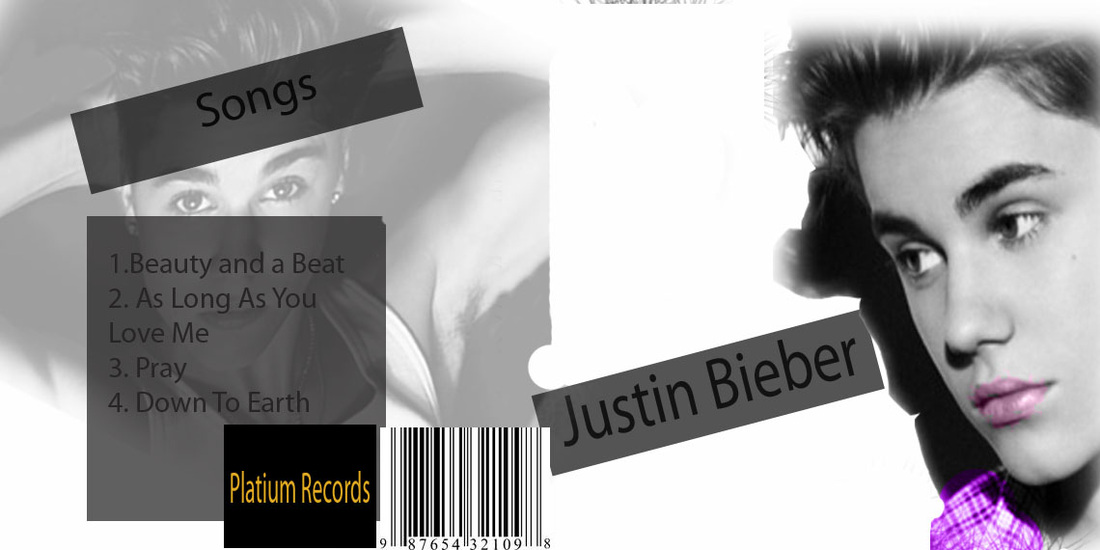
CD Cover
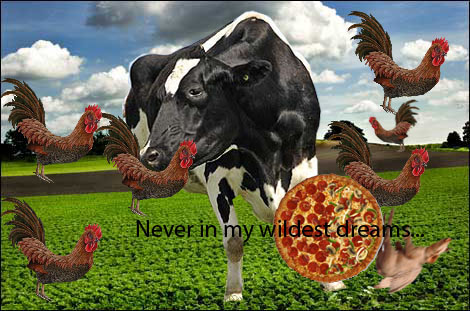
Waffle Day
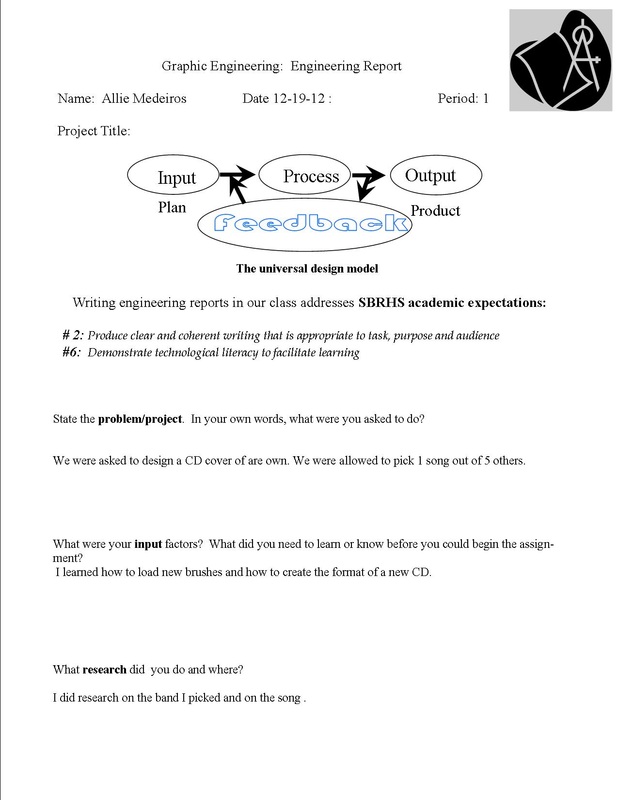
Making waffles is a manufactuing process. In order to make waffles, there is an INPUT, PROCESS, OUTPUT and FEEDBACK.
INPUT: In order to make waffles we need the ingredients: Bisquick pancake/waffle mix, vegtable oil, milk, eggs. We also need a wafle iron, plates, and utensils.
PROCESS:Pre-heat Waffle Iron. Set it to light, medium, or dark. Put ingredients into the bowl and mix. Make sure you follow the directions and use measuring cups/spoons. Pour it into heated waffle iron. Make sure you dont over flow it; 1-2 cups of mix per iron.
OUTPUT: Crispy, Delicious waffles, Add butter and syrup add desired.
FEEDBACK: Remember to re-oil the waffle iron to prevent waffles from sticking. If batter is to think or to thin, add more milk or add more waffle mix.
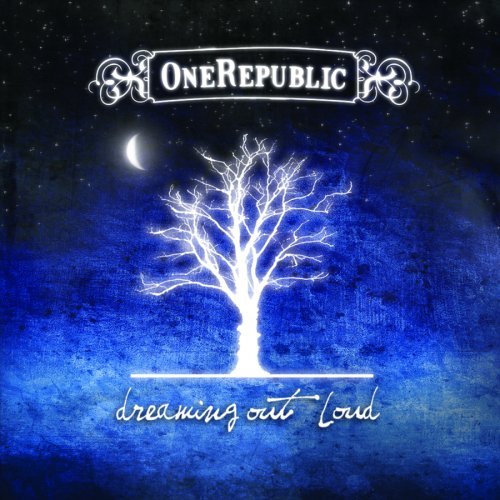
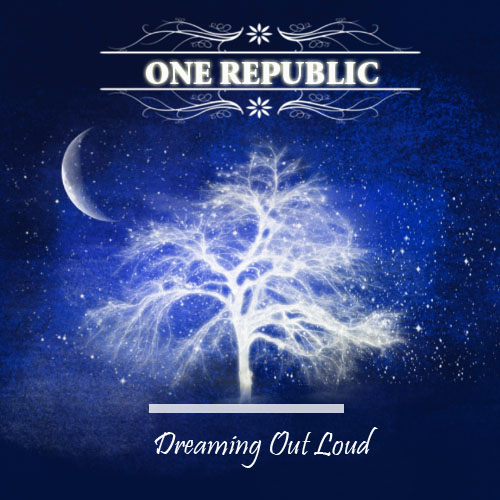
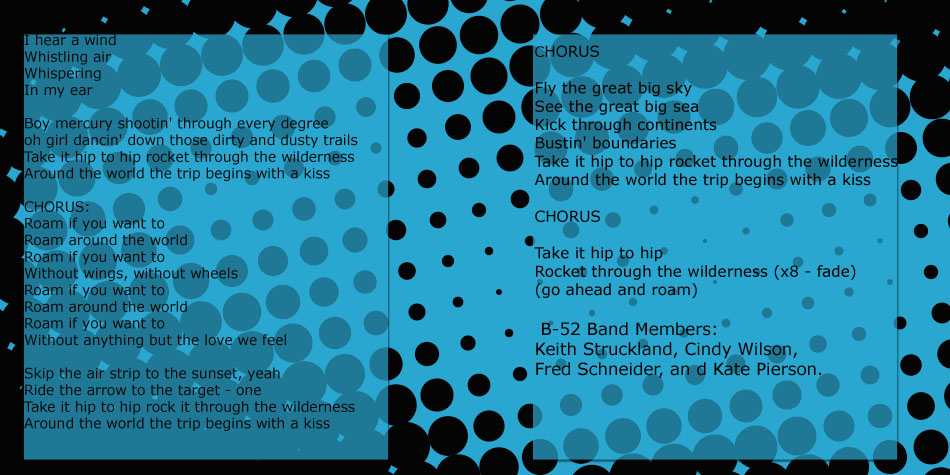
CD Cover
Engineering Report For CD Cover

CD Booklet
Original Photos (Before Photoshopping)


Photoshopping Summary
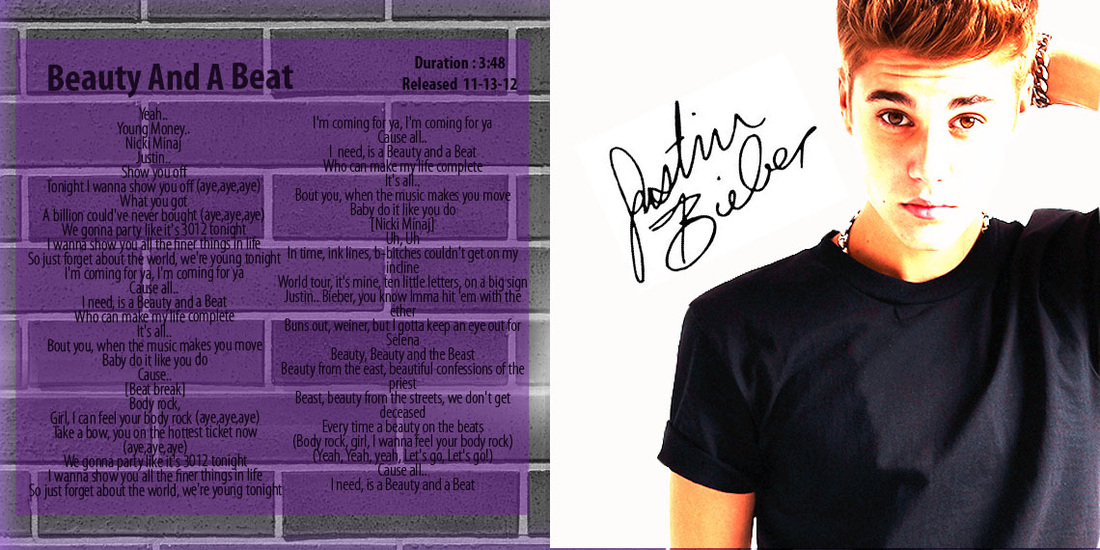
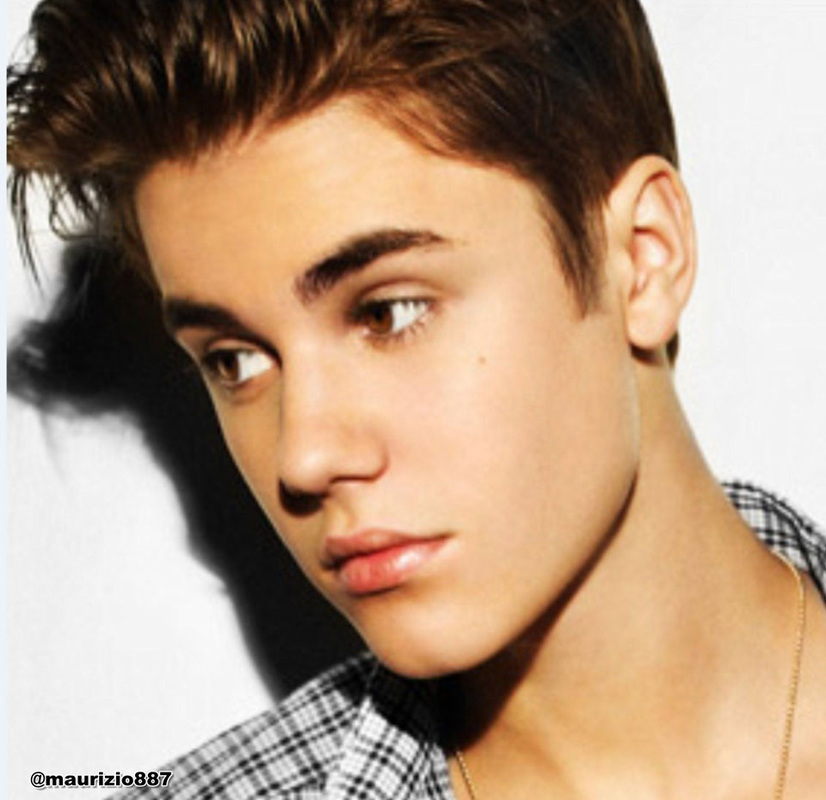
Photo #1 In order to make this CD Booklet I used Adobe Photoshop Cs3. I took the three original photos shown above and edited them. The first photo I took and I used the Magic wand and cut out all the backround. Then I used feathered edged to make the edges look like they were fading away. Next I took the photo and made it in black and white to put and effect on it.
Photo #2 To get this photo to look the way it did I had to use the Poliginal Lasso and crop out all the backround. I also had to shrink it down to make it fit. I used this glow effect to make the picture look like it was glowing and shining through.
Photo #3 This photo was very tricky. First I had to use Pologional Lasso and take everything out of the backround. Then I made the photo in black and white and I used the Feather tool to make the edges look feathered so it looked like it was fading away. Then I had to color his lips pink and his shirt purple and inverse it so it looks natural.
